
15 Elegant Flat Hallway Ideas for a Welcoming and Clutter-Free Home
In flat living, the hallway is often the hardest working space—and the most overlooked. Serving as the transition zone between the outside world and your sanctuary, a flat hallway must handle heavy daily traffic, shoe drop-offs, coat storage, and mail delivery, often within a narrow or compact footprint. Without a clear organization strategy, these entrance corridors quickly accumulate visual clutter, making your home feel chaotic the moment you step through the front door.
Creating an elegant, clutter-free hallway doesn’t require sprawling square footage or a major architectural overhaul. By leaning into smart proportions, streamlined furniture, vertical storage, and intentional lighting, you can transform even the tightest apartment corridor into a welcoming threshold. Here are 15 distinct, elevated design ideas to make your flat’s entry functional, spacious, and beautiful.
1. Install a Shallow Floating Console Table
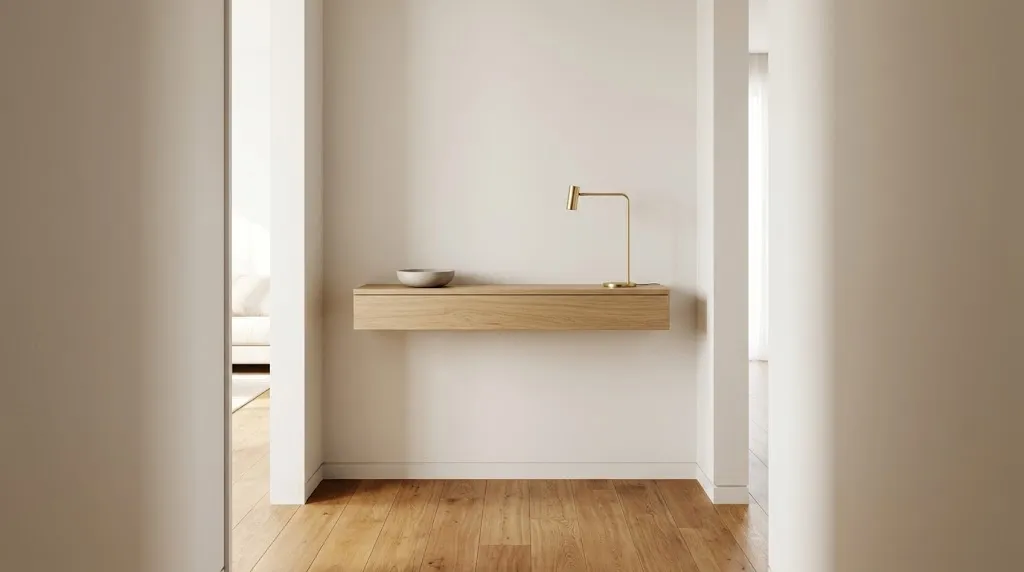
Floor space is prime real estate in a flat hallway. A traditional console table with four legs can block foot traffic and visual flow, making the corridor feel tight. A wall-mounted floating console with a depth of 8 to 10 inches provides a surface for daily essentials—like key dishes, mail trays, and decorative accents—without occupying an inch of floor space.
Quick Facts:
- Best For: Very narrow flat corridors and apartments with swing-door clearances.
- Visual Effect: Creates an airy, weightless entry focal point.
- Key Dimension: Aim for a depth between 8–10 inches installed at elbow height (around 30–34 inches).
Look for designs crafted from warm solid woods like white oak or walnut, or sleek powder-coated steel. Keep the surface curated: a single ceramic bowl for keys, a small table lamp or sculptural piece, and perhaps a stem of fresh greenery. Leaving the floor beneath completely clear maximizes the perceived width of the floorboards.
2. Incorporate Floor-to-Ceiling Built-In Vertical Cabinets
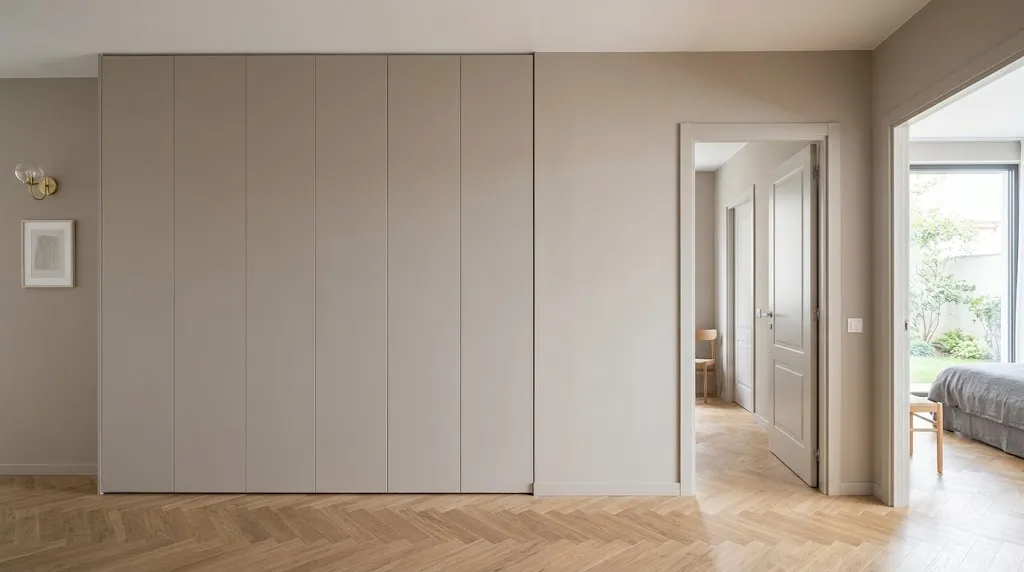
When square footage is limited, the only way to build storage is up. Custom or semi-custom floor-to-ceiling cabinetry painted the exact shade of the surrounding walls seamlessly blends into the architecture, concealing coats, shoes, vacuum cleaners, and seasonal gear behind flush push-latch doors.
- Concealed Storage: Keeps coats, bags, and umbrellas entirely out of sight.
- Monochromatic Integration: Painting cabinets the same color as the wall prevents them from feeling bulky.
- Vertical Maximization: Reaches the ceiling to capture unused upper-wall space for seasonal items.
By keeping the door fronts flat and eliminating bulky traditional hardware, the cabinetry reads as a textured wall rather than heavy furniture, maintaining a serene, clutter-free passage.
3. Position an Oversized Round Mirror Above a Low Console
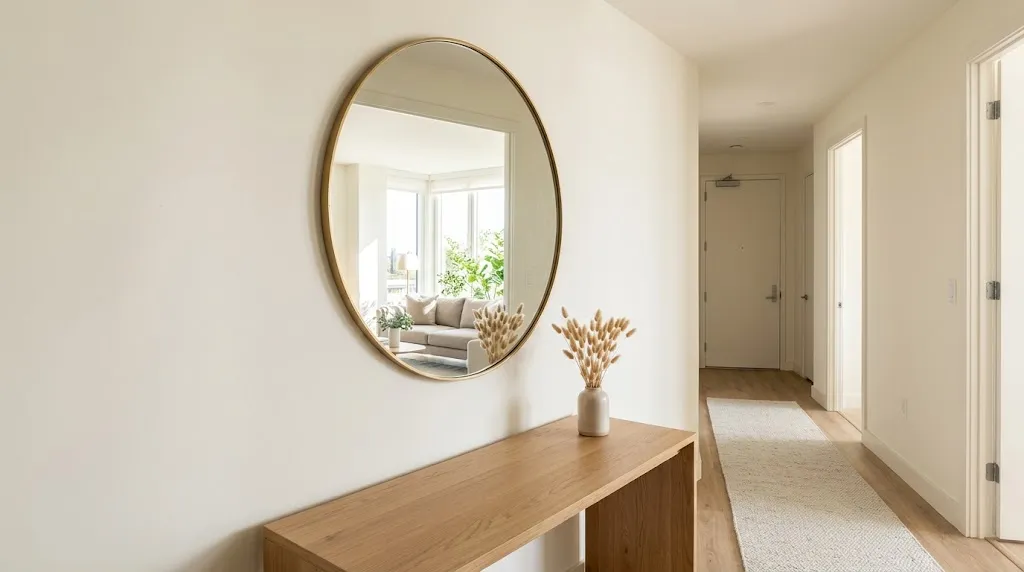
Horizontal lines—like long runner rugs, low benches, or baseboards—can emphasize the narrowness of a hallway corridor. Introducing a large round mirror above a low ledge or console breaks up these linear strokes, softening the architecture while reflecting light from surrounding rooms.
| Element | Recommended Proportion | Function |
| Mirror Diameter | 30 to 36 inches | Balances long horizontal wall space |
| Frame Finish | Slim brass, matte black, or natural oak | Complements hardware throughout the flat |
| Placement | Centered 4–6 inches above console | Creates a focal point at eye level |
The reflection naturally doubles the perceived visual depth of the entry, making a flat corridor feel instantly brighter and twice as wide.
4. Craft a Low Storage Bench with Integrated Shoe Drawers
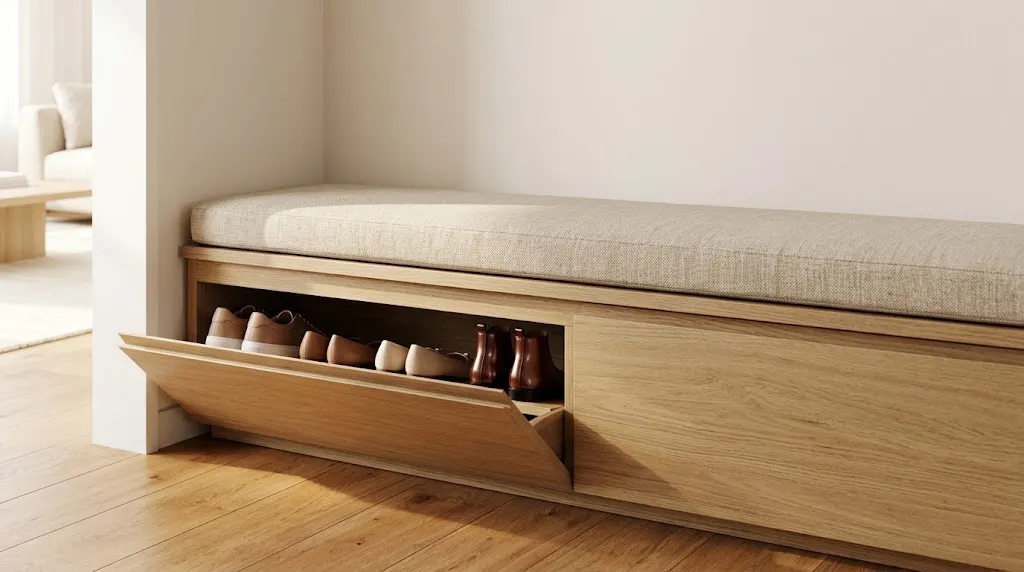
A bench offers a practical spot to sit while putting on or removing shoes, but open shoe racks underneath often turn into a messy pile of footwear. Opt for a low profile, upholstered bench featuring deep pull-out drawers or drop-down compartments instead of open slats.
- Choose a slim depth (12 to 14 inches) to ensure comfortable passing space.
- Add a tailored seat cushion upholstered in high-performance stain-resistant fabric, linen, or leather.
- Utilize full-extension drawer slides so shoes at the very back remain easily accessible.
This approach provides functional seating while keeping everyday footwear organized and completely invisible to guests.
5. Add Architectural Depth with Half-Wall Vertical Slats or Panel Molding
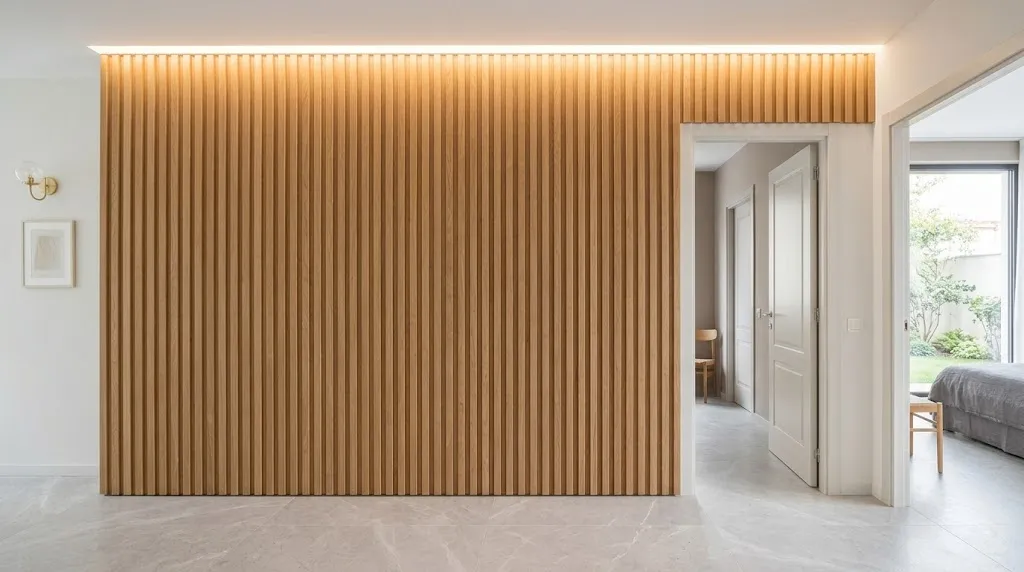
Flat drywall in long corridors can feel sterile and boxy. Introducing subtle architectural millwork—such as delicate vertical wood slats, board-and-batten, or classical applied panel molding painted in a single color—adds texture and shadow lines without reducing usable walking width.
Common Mistake: Using dark or heavy paneling on all four sides of a small flat entry, which can make the space feel claustrophobic.
Better Approach: Apply vertical slats or delicate molding to a single focus wall up to rail height (about 42 to 48 inches) or full height in a light, light-reflecting paint finish. Vertical lines draw the eye upward toward the ceiling, creating an illusion of height.
6. Design a Dedicated Peg Rail and Shelf Combination
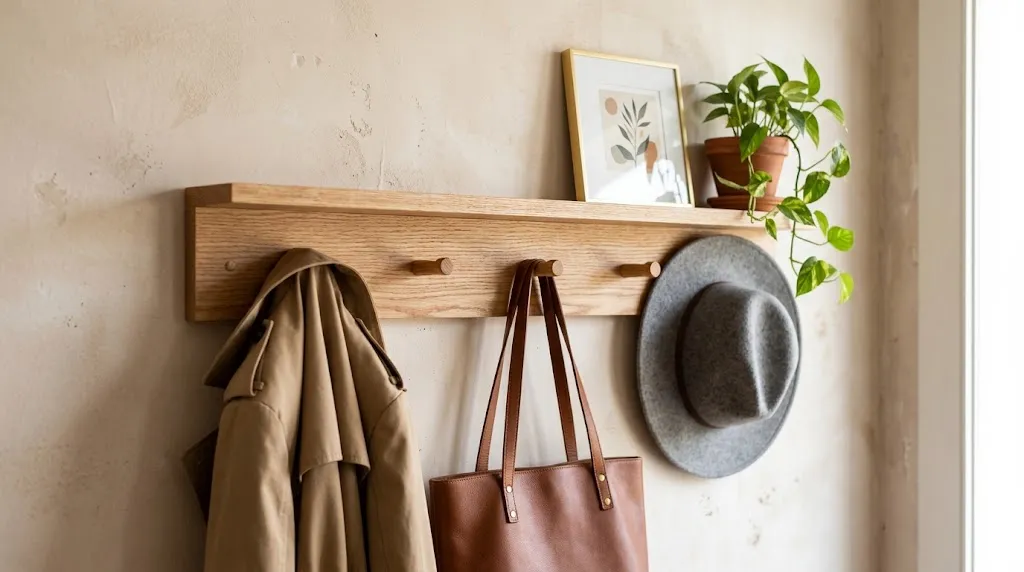
For flats without a dedicated coat closet, hanging coats on door handles or over chairs creates instant clutter. A high-mounted peg rail crafted from solid hardwood, topped with a narrow picture shelf, provides an organized landing strip that occupies minimal depth.
- Mount High: Install the rail at roughly 66 to 70 inches from the floor to allow full-length coats to hang without touching the ground or bench below.
- Space Evenly: Space wooden pegs 6 to 8 inches apart to prevent jacket overcrowding.
- Style the Top Shelf: Use the top shelf strictly for small framed artwork, a small trailing plant (like a pothos), or small decorative tins.
Editor’s Note: Keep hooks limited to items in daily rotation—such as two jackets, a handbag, and a hat. Store out-of-season outerwear in main bedroom closets to keep the rail uncluttered..
7. Delineate the Entryway with Graphic Floor Tile
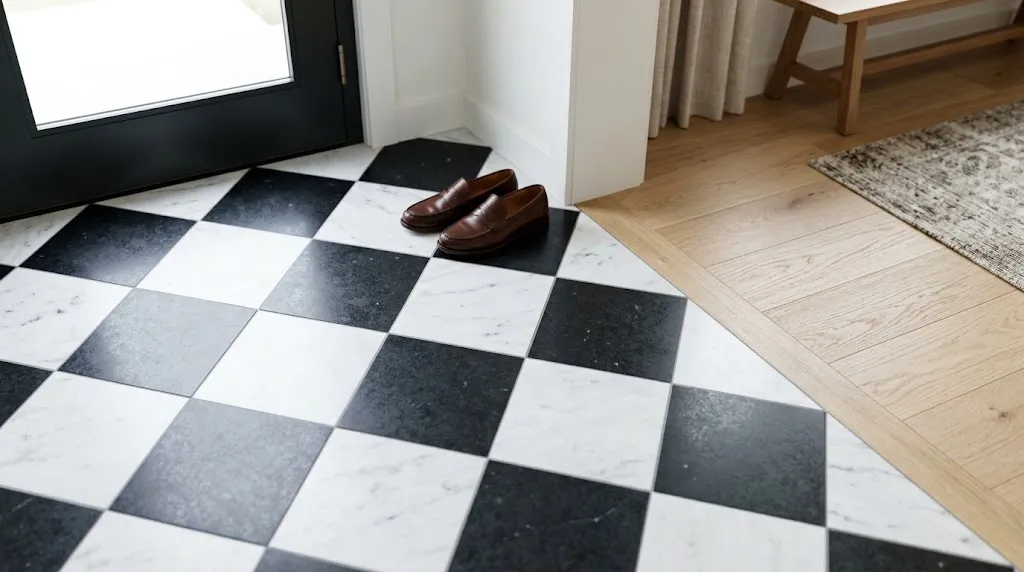
In open-plan flats where the front door opens directly into the main living space, creating a distinct “hallway” identity can be challenging. Switching the flooring at the entry zone from wood to a durable, patterned, or geometric tile visually establishes a dedicated vestibule.
- Durability: Porcelain or encaustic tiles stand up to wet shoes, mud, and heavy foot traffic far better than wood.
- Visual Boundary: A crisp transition line between tile and hardwood visually defines the hallway without requiring physical dividers or walls.
- Pattern Scale: Use medium-scale geometric or subtle checkerboard patterns; oversized patterns can overwhelm small entries.
8. Layer Low-Profile Flush Wall Sconces for Warmth
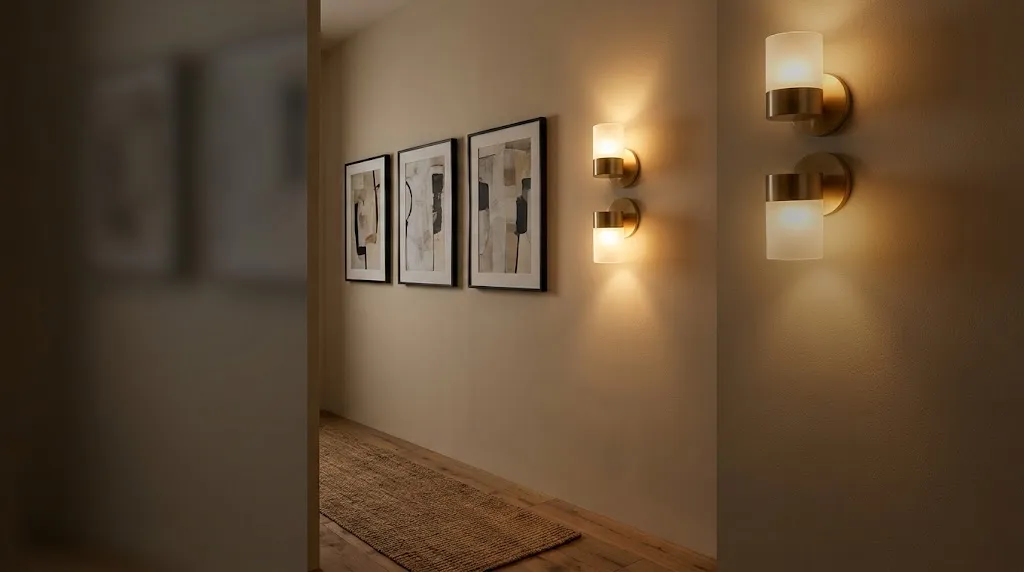
Ceiling flush mounts alone can cast harsh downlighting that accentuates narrow walls and shadowy corners. Adding slim, low-profile wall sconces at eye level introduces warm ambient illumination that washes down the walls, widening the visual corridor.
- Ideal Mounting Height: Position sconces at approximately 60 to 64 inches from the floor for balanced, glare-free light distribution.
- Slim Profile: Choose low-profile sconces that extend 4 inches or less from the wall surface to prevent shoulders or bags from bumping into them as people move through the flat corridor.
- Light Diffusion: Opt for frosted glass or opaque shade options to create a soft, inviting glow that minimizes harsh shadows along narrow walls.
9. Utilize an Ultra-Slim Shoe Cabinet Hack
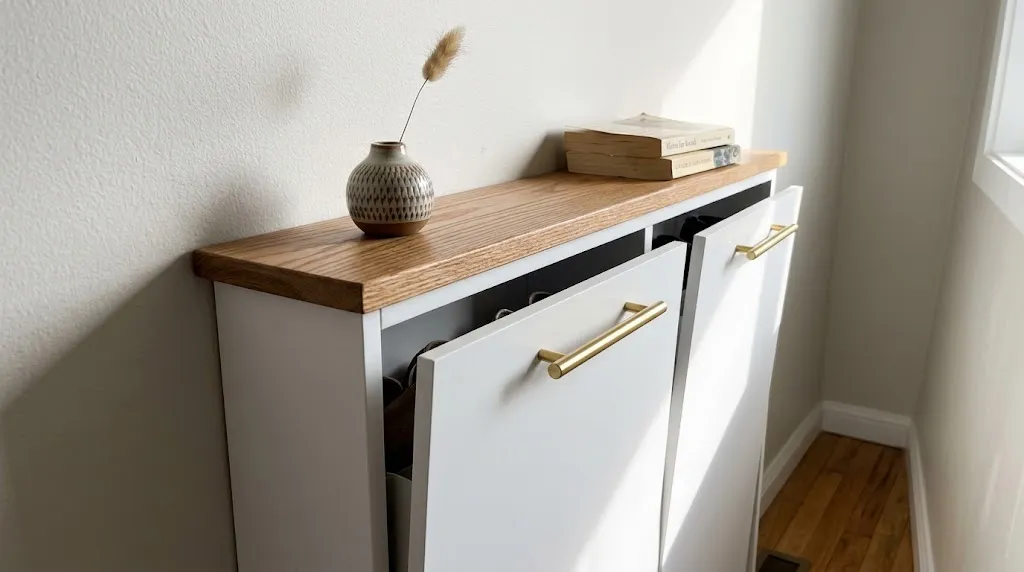
Standard shoe racks require 13 to 15 inches of depth, which can completely block a tight flat corridor. Ultra-slim shoe cabinets—featuring tipping bucket drawers where shoes sit vertically—require as little as 6 to 7.5 inches of wall depth.
- Concealment: Shoes are completely enclosed behind tilt-down doors.
- Custom Customization: Upgrade budget slim shoe cabinets by replacing stock knobs with solid brass or leather handles, and topping the unit with a custom-cut piece of marble or stained oak.
- Wall Anchoring: Always securely anchor tipping shoe cabinets to wall studs for safety and structural stability.
10. Frame the End Wall as a Visual Focal Point
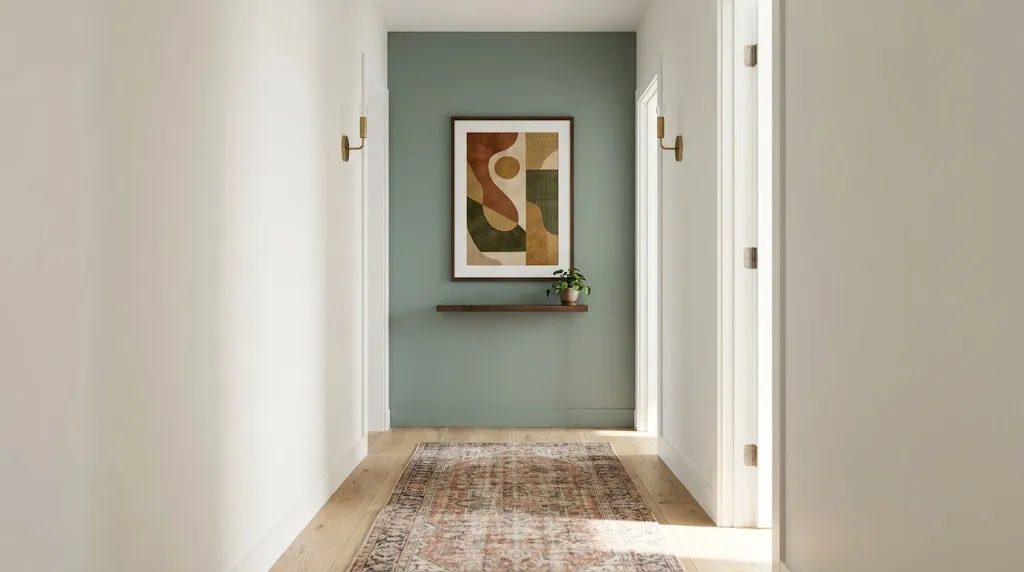
When walking down a flat’s hallway, the eye naturally settles on the far end wall. Leaving this wall blank makes the corridor feel like an endless tunnel, while styling it intentionally draws the viewer forward, transforming a simple passage into a considered design journey.
Quick Tip: Paint the end wall a single shade darker than the side walls, or hang a single piece of statement artwork framed precisely to match the proportions of the hallway opening.
Options for the End Wall:
- Statement Art: A bold abstract print with rich color to anchor the sightline.
- Accent Color: A rich, muted paint color (like sage, navy, or terracotta) that contrasts gently with lighter side walls.
- Sculptural Lighting: A single decorative sconce centered over a small pedestal or floating ledge.
11. Select a Tailored High-Contrast Runner Rug
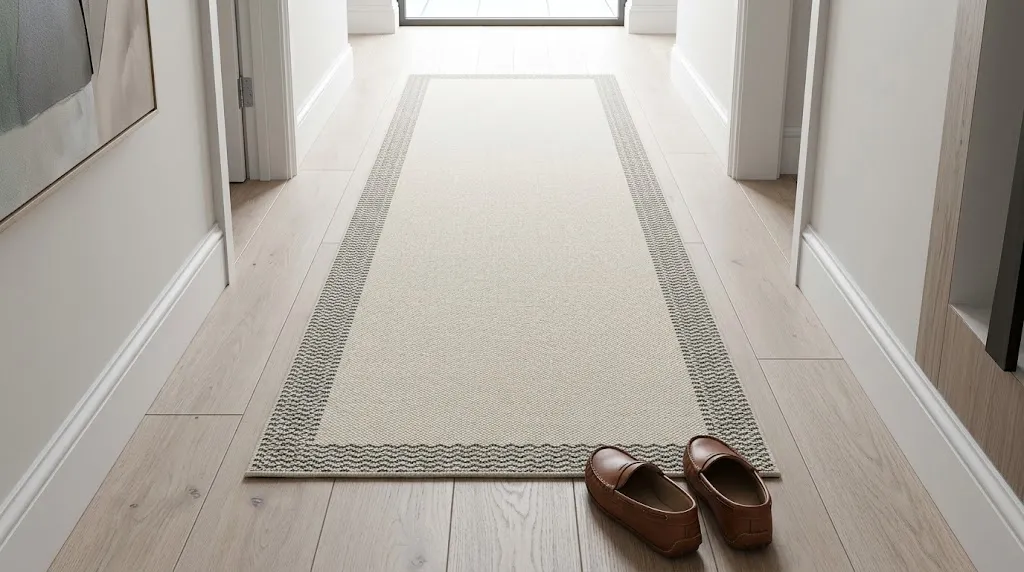
A hallway runner anchors the floor, absorbs sound, and adds warmth underfoot. In flat hallways, a runner that is too short or too wide can distort the room’s proportions.
- Sizing Rule: Leave 4 to 6 inches of bare flooring visible on both sides of the runner to maintain visual breathing room.
- Pattern & Color: Select flat-weave or low-pile rugs with linear patterns or contrasting borders to visually stretch the space lengthwise.
- Safety First: Always use a non-slip rug pad underneath to hold the runner securely on hardwood or tile floors.
Materials like wool blends, jute, or performance flat-weaves offer high durability for heavy daily foot traffic while remaining easy to clean..
12. Mount a Recessed or Flush Key and Mail Niche
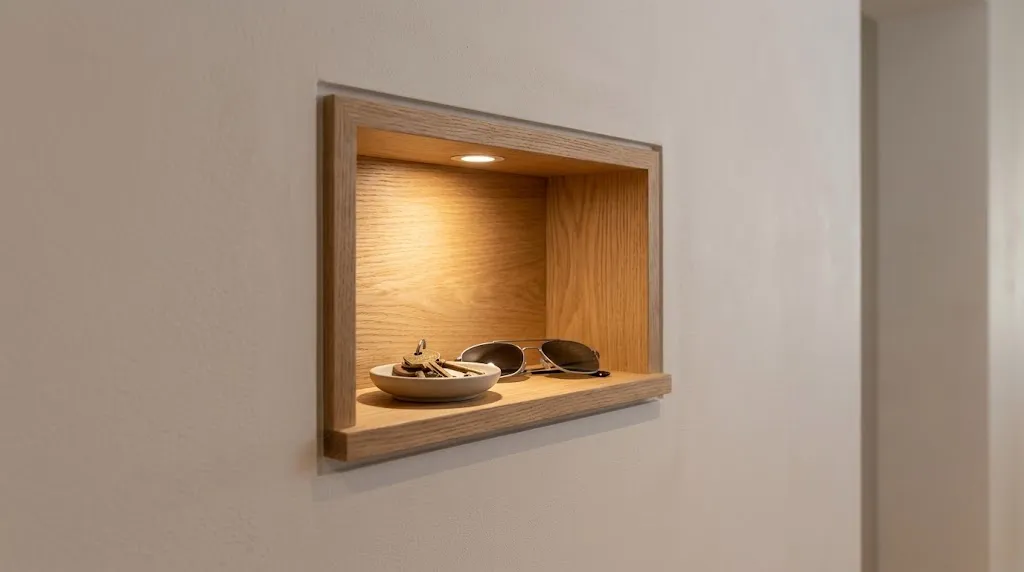
If your flat has interior stud walls, carving out a shallow recessed niche between wall studs creates functional landing storage completely flush with the wall plane.
Do / Don’t Guide:
- DO: Install a small micro-shelf inside the niche for keys, sunglasses, and mail.
- DO: Add a small battery-operated LED puck light or hidden strip inside the top frame for soft night lighting.
- DON’T: Overcrowd the niche with loose paper; restrict it to daily essentials.
- DON’T: Cut into load-bearing walls or plumbing chases without professional guidance.
This built-in approach maintains absolute walkability in the tightest corridors while providing an organized, drop-off spot.
13. Brighten the Corridor with Light-Reflecting High-Gloss Ceiling Paint
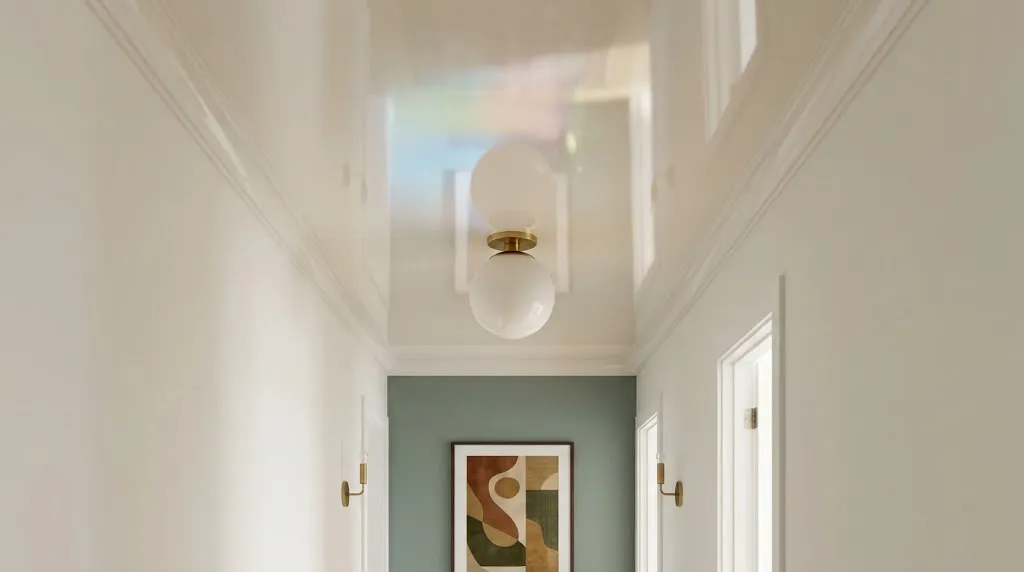
Low ceilings in flat corridors can feel heavy and restrictive. A classic designer technique to lift low hallway ceilings is applying a high-gloss or semi-gloss paint in a soft off-white, sky tone, or pale cream on the ceiling plane.
| Ceiling Finish | Reflectivity Level | Visual Effect | Maintenance |
| Flat / Matte | Low (0–5%) | Absorbs light; can feel low and shadowy | Easy to patch |
| Semi-Gloss | Moderate (35–50%) | Softly bounces natural and fixture light | Wipeable surface |
| High-Gloss / Lacquer | High (80%+) | Mirror-like reflection; doubles visual height | Requires perfect drywall prep |
The reflective ceiling catches light from adjoining rooms and sconces, bouncing it down into the corridor and making the space feel taller and airier.
14. Hang a Streamlined Gallery Wall with Uniform Frames/
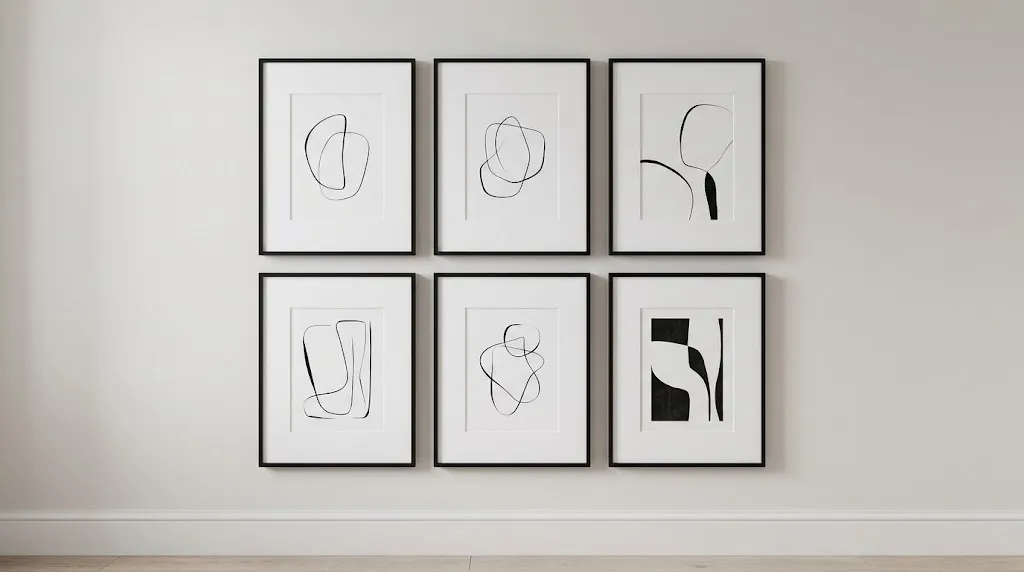
Displaying artwork or family photos makes a flat feel personal, but mismatched, protruding frames hung haphazardly create visual clutter. A grid or linear gallery wall using thin, matching frames with wide white mat boards adds sophistication while keeping the wall profile sleek.
- Choose thin frames (depth under 0.75 inches) in black, oak, or brushed metal.
- Use oversized matting—for example, a 5×7 photograph inside an 11×14 frame—to give art an airy, gallery-like presentation.
- Hang frames in a precise single horizontal row or a tight 2×3 grid, keeping 2 inches of uniform space between frames.
Aligning the midlines of the frames at eye level (57 to 60 inches from the floor) maintains orderly alignment through the hall.
15. Create an Integrated “Drop Zone” Inside a Slim Closet
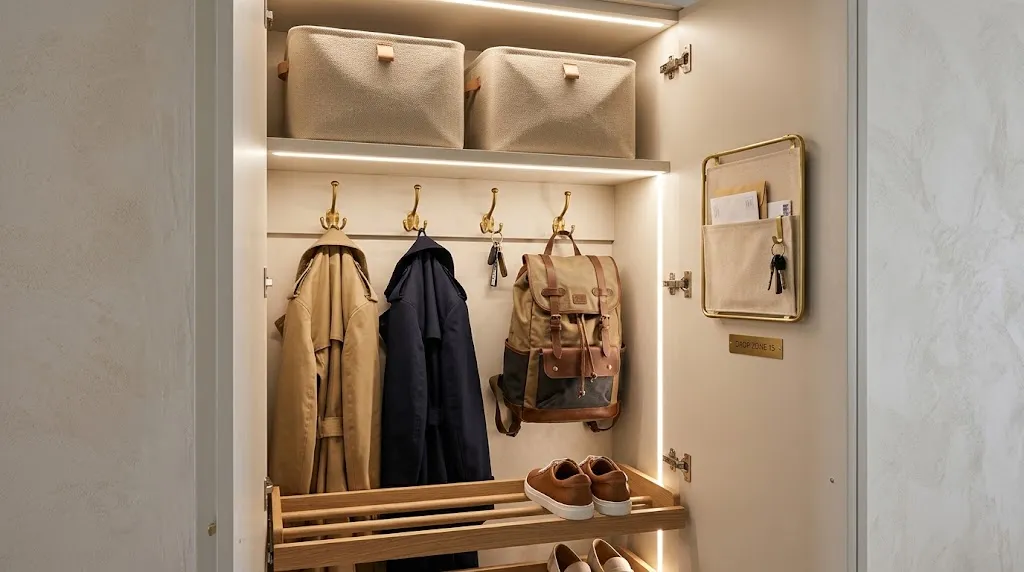
If your flat has a small coat closet near the entry, optimize its interior so it functions as a complete “drop zone,” keeping all everyday entry items hidden behind a single closed door.
- Upper Tier: High shelf for canvas storage bins containing seasonal scarves, gloves, and umbrellas.
- Middle Tier: A row of sturdy double hooks for daily coats, jackets, and backpacks.
- Lower Tier: A two-tier pull-out shoe rack or stacked shoe boxes at the floor level.
- Door Interior: Mount a slim mail holder or memo board on the inside of the closet door.
Closing the door instantly hides daily clutter, keeping the main hallway completely clear and welcoming.