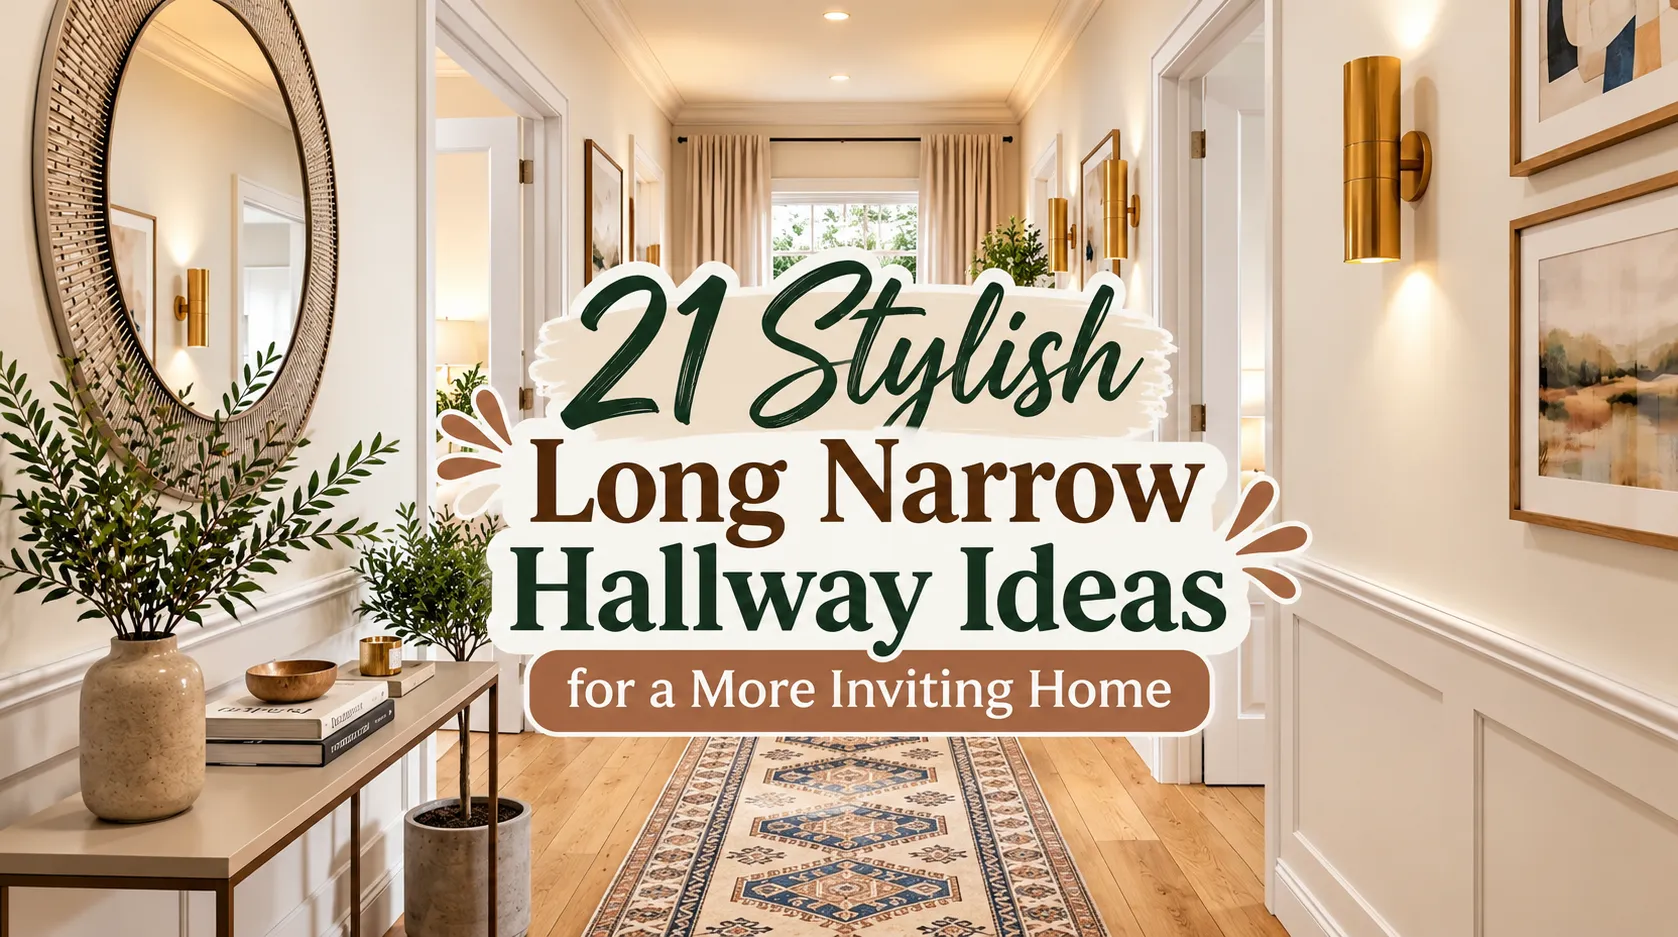
21 Stylish Long Narrow Hallway Ideas for a More Inviting Home
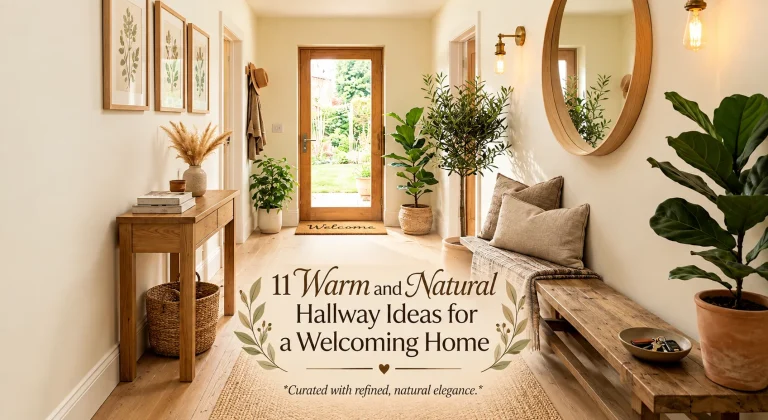
A long, narrow hallway is often treated as purely functional square footage—a pass-through zone that connects rooms without having a identity of its own. Because these architectural corridors frequently lack natural light and adequate clearance for standard furniture, they can easily feel dark, cramped, or starkly utilitarian.
Transforming a long hallway doesn’t require knocking down walls or sacrificing walking room. With strategic lighting, scaled wall treatments, smart color placement, and intentional decor, you can turn a tight passage into an inviting, character-rich feature of your home. Whether you are dealing with a dark apartment corridor or an expansive, windowless hallway in a traditional home, these 21 design ideas offer practical, visual solutions to make your space feel wider, brighter, and thoughtfully composed.
1. Ground the Length With a Multi-Tone Persian Runner
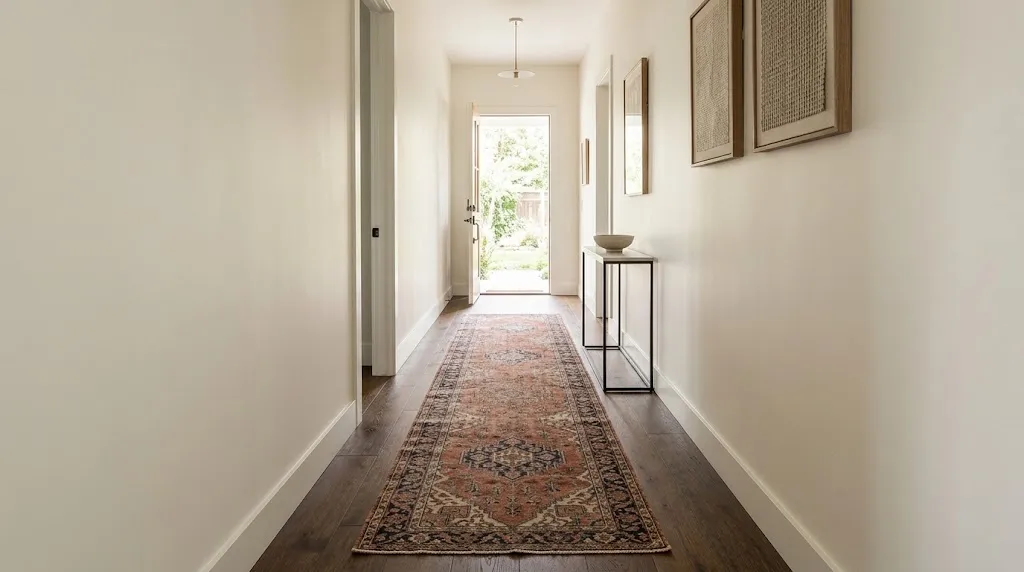
A long hallway can easily look like a bowling alley if the floor lacks texture or definition. A vintage or traditional Persian-style runner breaks up the monotonous stretch of wood or tile floor, introducing warmth, color, and pattern directly down the central walking path.
Selecting a runner with a multi-tonal, intricate pattern offers two major benefits: it hides high-traffic wear and creates an anchor that visually grounds the space. Ensure you leave at least 4 to 5 inches of exposed floor on either side of the rug so the hallway doesn’t feel completely carpeted, which can make the space feel narrower.
Best For: Adding warmth and acoustic dampening to long hardwood floors.
Investment: Accessible to Moderate.
Visual Effect: Grounded, rich, and visually cohesive.
2. Hang a Coordinated Gallery Wall Along One Side Only
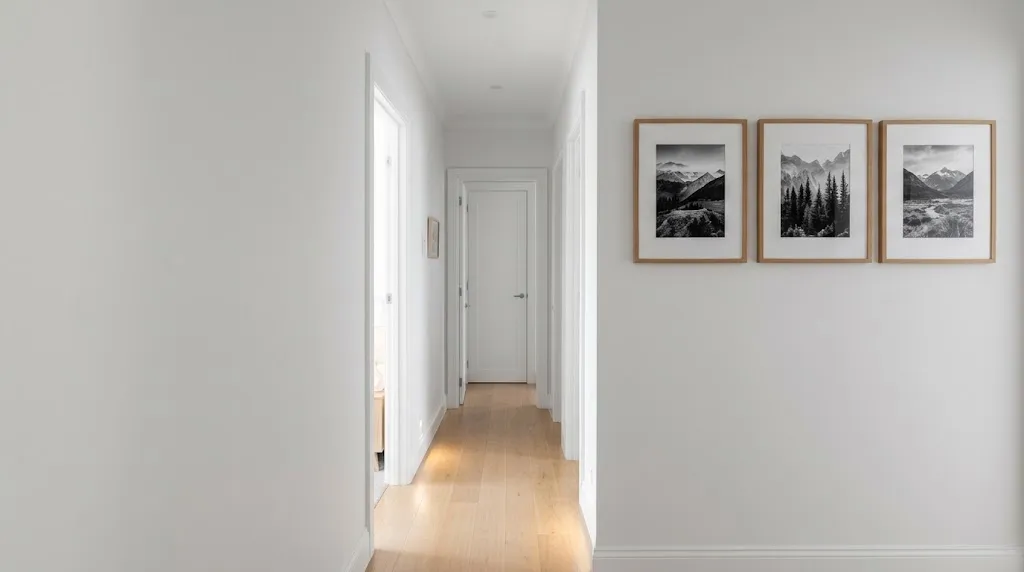
When decorating a narrow hallway, mounting frames on both facing walls creates a visual squeeze, making the corridor feel tight and cluttered. Instead, commit your artwork or family photos to one side of the hall, leaving the opposing wall completely bare or styled with a low-profile wall treatment.
Keep frame depths shallow—ideally under 1.5 inches—to preserve physical clearance. Using uniform frames in mat black, warm oak, or brass creates a clean grid or linear layout that guides the eye naturally down the hall.
Styling Options
- Linear Grid: Equal-sized frames arranged in two neat horizontal rows for a clean, modern look.
- Asymmetric Line: Varied frame sizes aligned along a central horizontal axis for a curated feel.
- Monochrome Impact: Black-and-white photography paired with wide white matting to maximize light reflection.
3. Install Mid-Height Board and Batten Paneling
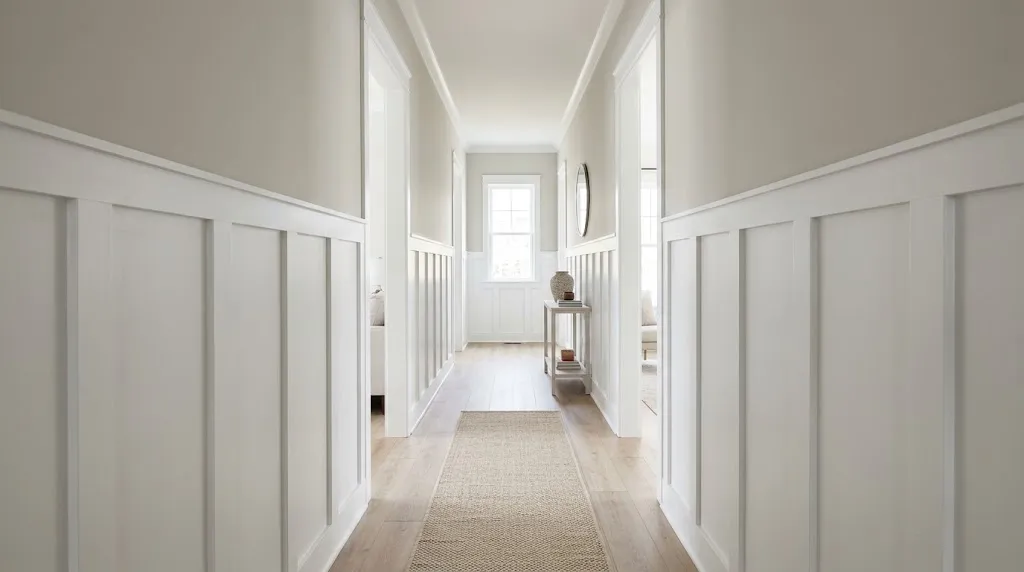
Adding architectural texture to the lower half of a long corridor pulls the eye horizontally rather than vertically, effectively widening the perception of the passage. Board and batten paneling installed to waist or chest height adds classic structure while protecting high-impact drywall from everyday scuffs.
Painting the lower paneling a crisp, clean white and using a soft color on the wall above creates a classic two-tone contrast. The crisp upper ledger board also provides a continuous horizontal line that emphasizes the length of the hall in an intentional way.
| Feature | Low-Height Paneling (36″) | High-Height Paneling (54″-60″) |
| Visual Impact | Keeps walls feeling airy; ideal for low ceilings | Dramatically grounds the hall; highlights height |
| Protection | Protects against baseboard and furniture scuffs | Full wall protection from hands and bags |
| Best Wall Pairing | Bold paint colors or patterned wallpaper above | Soft neutrals or tonal paint shades above |
4. Install a Continuous Picture Ledge
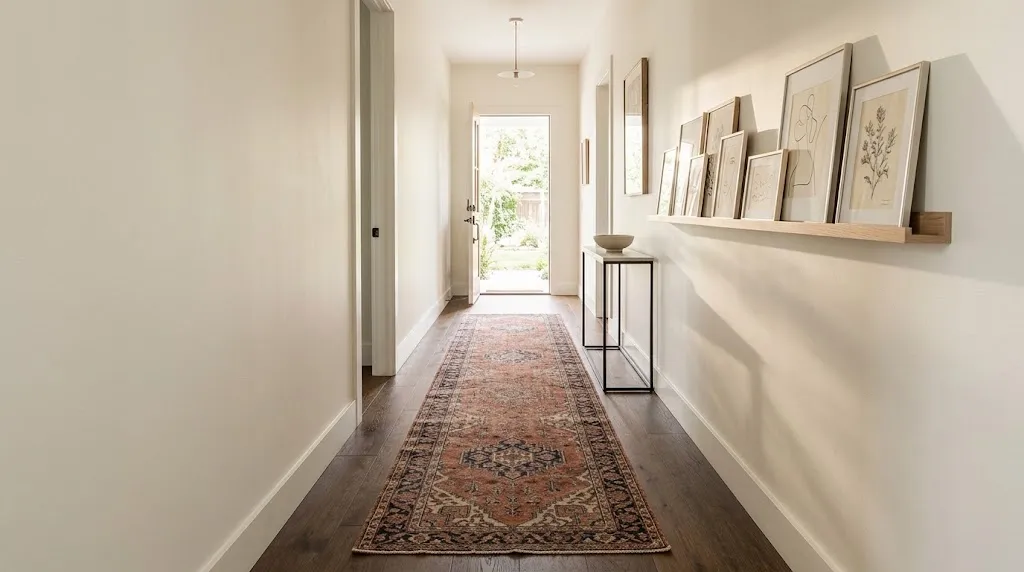
If you like to rotate art, family photos, or small decorative object collections, traditional wall mounting can lead to dozens of nail holes along a tight corridor. A single, ultra-shallow floating picture ledge running down the length of the wall offers flexibility without intruding into the walking space.
Mount the ledge at chest level (around 54 to 58 inches from the floor) to keep items easily at eye level while avoiding accidental shoulder bumps.
Quick Tip: Choose a ledge depth of 3 to 3.5 inches maximum, and overlap prints slightly in front of each other to create depth without bulk.
5. Paint Doors and Trim in a Soft Contrasting Shade
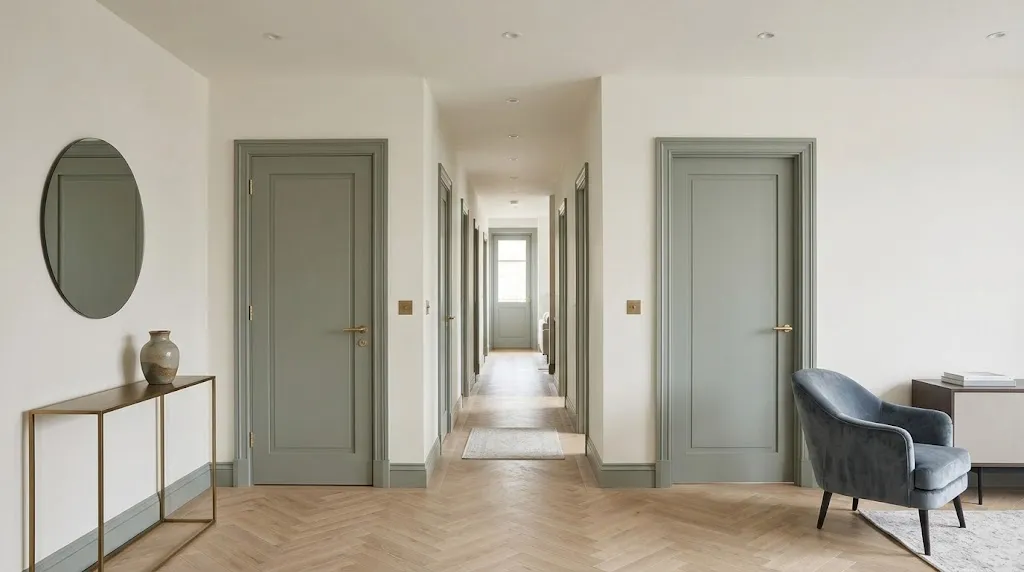
Standard white doors lining a white narrow hallway can look flat and repetitive. Introducing a soft, intentional contrast on internal doors and door frames adds architectural detail and makes the doors feel like designed features rather than functional interruptions.
Muted, muted tones work best in tight corridors—consider sage green, soft slate blue, greige, or taupe. Applying the accent color to both the door casing and the door itself frames each entryway along the hall, adding dimension down the long view.
6. Bounce Light With an Oversized Arch or Round Mirror
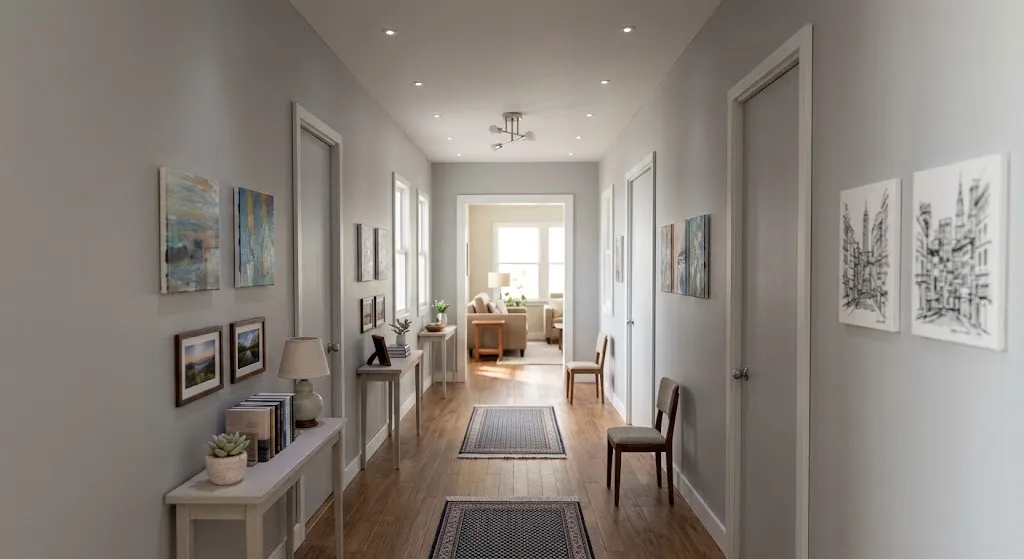
Dark, narrow hallways lack natural light reflection. Hanging a large mirror at a strategic point—either along the main wall or directly at the far end focal point—reflects available light from adjacent rooms and visually doubles the apparent width of the space.
Curved frames, such as full arches or wide circles, soften the sharp, boxy geometry of a straight corridor. Ensure the mirror frame is kept low-profile so it sits flush against the wall.
Editor’s Note: If mounting a mirror directly facing an open doorway, position it so it reflects a pleasant visual feature (like a window or art piece) rather than a utility space or closet interior.
7. Replace Heavy Flush Mounts With Low-Profile Semi-Flush Fixtures
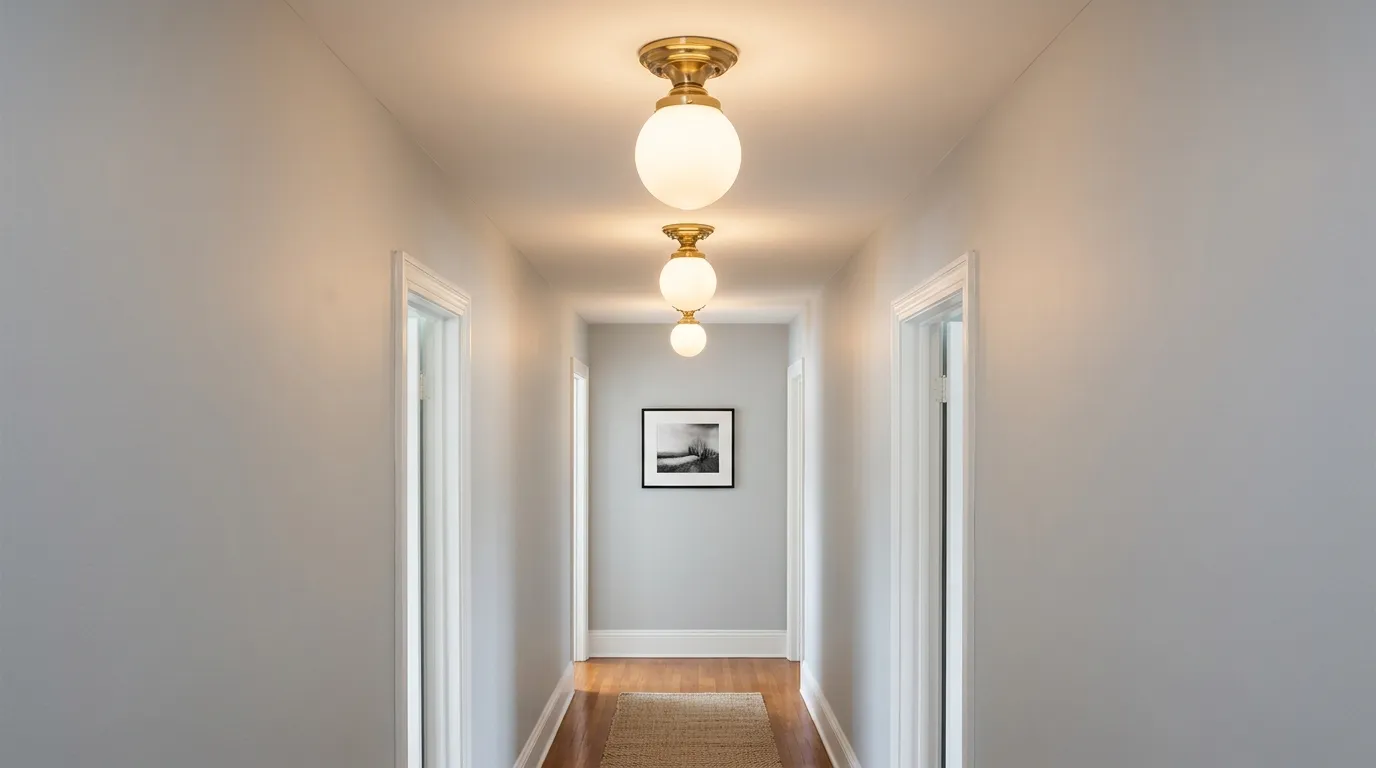
Standard builder-grade dome lights cast flat, uninspiring downlight that can accentuate the tunnel-like feeling of a tight hallway. Upgrading to a rhythmic series of stylish, low-profile semi-flush mount fixtures adds architectural structure overhead while casting a broader, more flattering pool of light.
Space fixtures evenly every 6 to 8 feet down the hall length to eliminate dark gaps. Glass globe shades, woven linen drums, or subtle brass details bring design personality overhead without hanging low enough to obstruct movement.
8. Mount a Shallow Floating Console Near the Entry Point
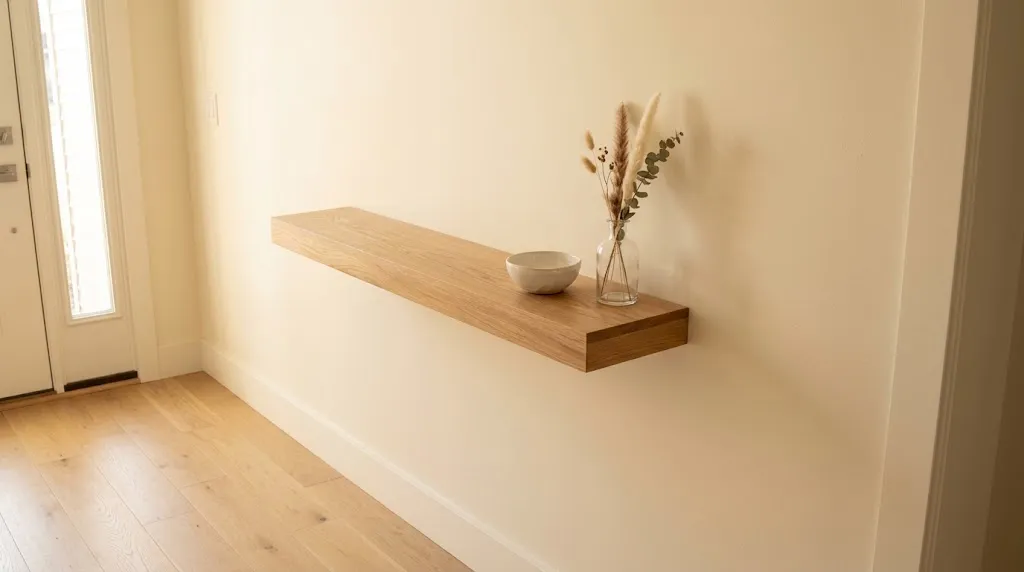
Floor-standing furniture can obstruct walking paths in hallways under 4 feet wide. A wall-mounted floating console provides a surface for keys, mail, or a small vase while keeping the floor beneath completely open, which visually preserves the width of the floor plan.
Look for floating shelves or consoles with a depth between 8 and 10 inches. Mounting a small console near the main entry threshold of the hallway establishes a practical transition point without creating a physical bottleneck.
9. Create a Statements Focal Point at the Far End Wall
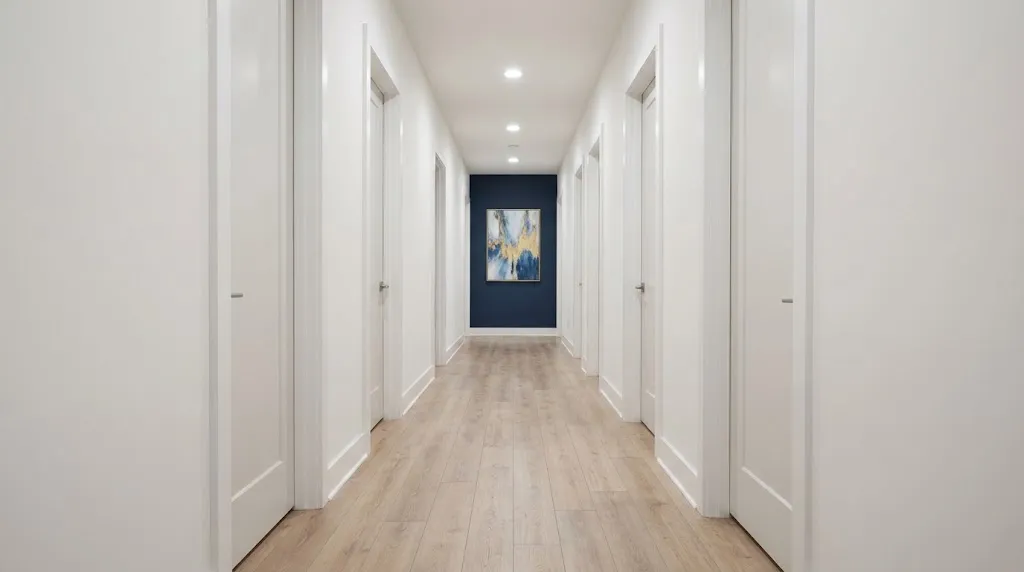
When looking down a long corridor, your gaze naturally settles on the end wall. If that wall is blank or neglected, the hallway feels unfinished. Treating the far end wall as an intentional visual destination draws you forward and gives the entire passage a sense of purpose.
Effective Far-End Wall Strategies
- Bold Accent Paint: Apply a deep, saturated shade (like navy, forest green, or charcoal) to bring the end wall visually closer, shortening an overly long room.
- Statement Artwork: Hang a single, large-scale framed canvas that fills roughly 60–70% of the wall width.
- Architectural Nook: Install vertical wood slats or a dark-painted bookcase if the hallway terminates in a deep niche.
10. Add Slim Vertical Wall Sconces for Layered Warmth
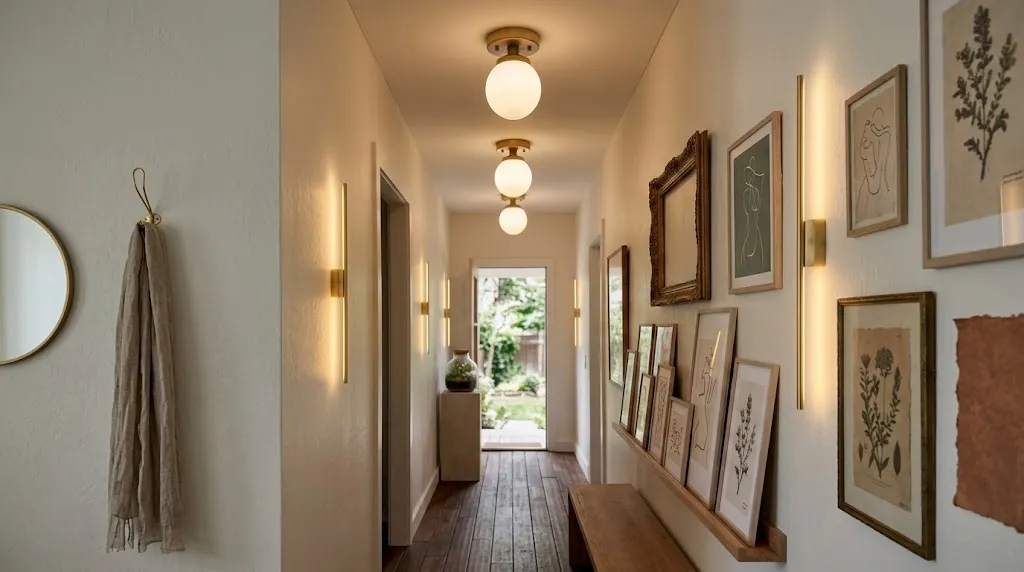
Ceiling fixtures alone can cast downward shadows that make walls feel tall and cold. Adding a series of ultra-slim, hardwired or plug-in wall sconces at eye level introduces soft vertical lighting that washes light up and down the wall surfaces, creating a cozier ambience.
Choose sconces with a low projection—ideally under 4 inches from the wall—to comply with standard hallway clearance and prevent accidental contact when carrying items down the hall.
Best For: Creating atmospheric, low-glare evening illumination.
Investment: Moderate to Premium (depending on electrical wiring).
Visual Effect: Hotel-inspired, warm, and architectural.
11. Run Vertical Striped Wallpaper to Create Height Visuals
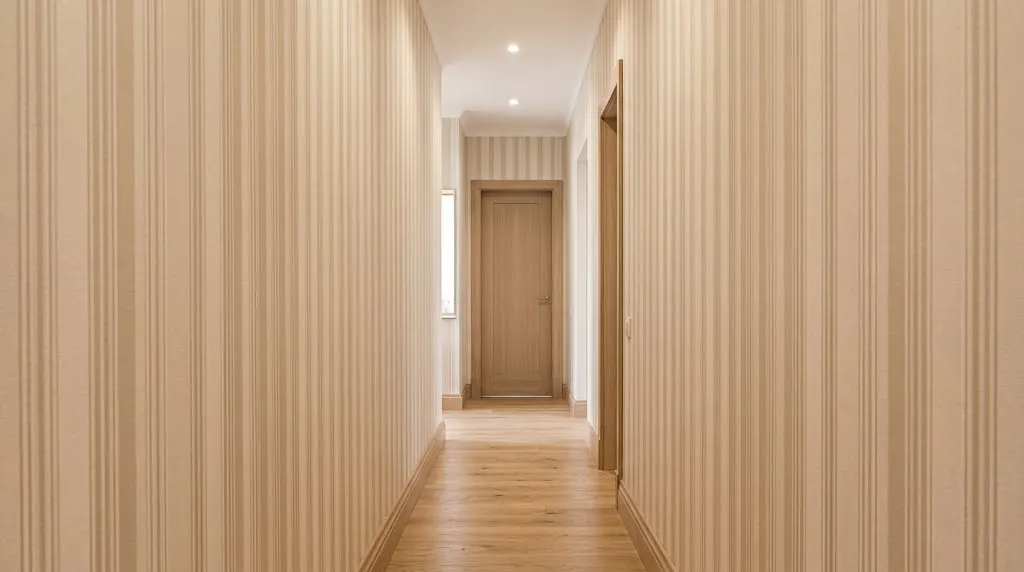
In hallways with standard or low ceilings, vertical patterns can draw the eye upward, shifting the focus away from the tight width and emphasizing vertical height. Classic pinstripes, soft tonal bands, or subtle botanical stripes add structure without cluttering the space with physical objects.
Opt for low-contrast colorways—such as soft gray and white, or cream and beige—so the repetition doesn’t feel overwhelming in a enclosed area.
Common Mistake: Using heavy horizontal patterns or high-contrast, oversized geometric prints, which can visually press the walls inward and highlight the narrowness.
12. Utilize High-Mounted Floating Bookshelves
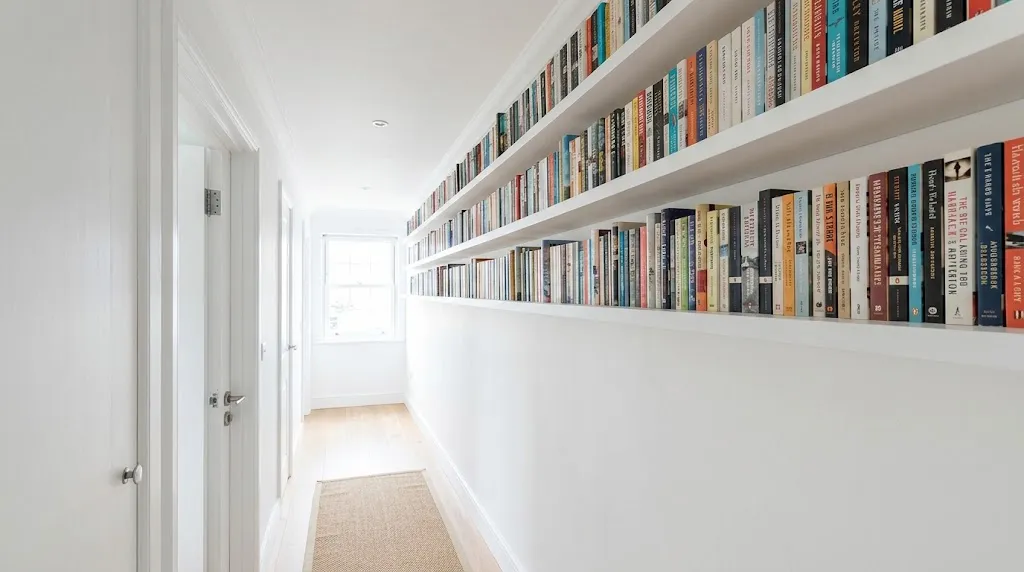
When floor space is non-existent, look overhead. Installing a continuous line of shallow, floating shelves high on the wall—just below ceiling height—utilizes dead space for book storage or display objects without encroaching on walking room.
Keep shelf depths around 6 to 8 inches, and ensure they are painted the same color as the wall to keep the installation visual light.
13. Apply a Two-Tone Paint Scheme to Balance Proportions
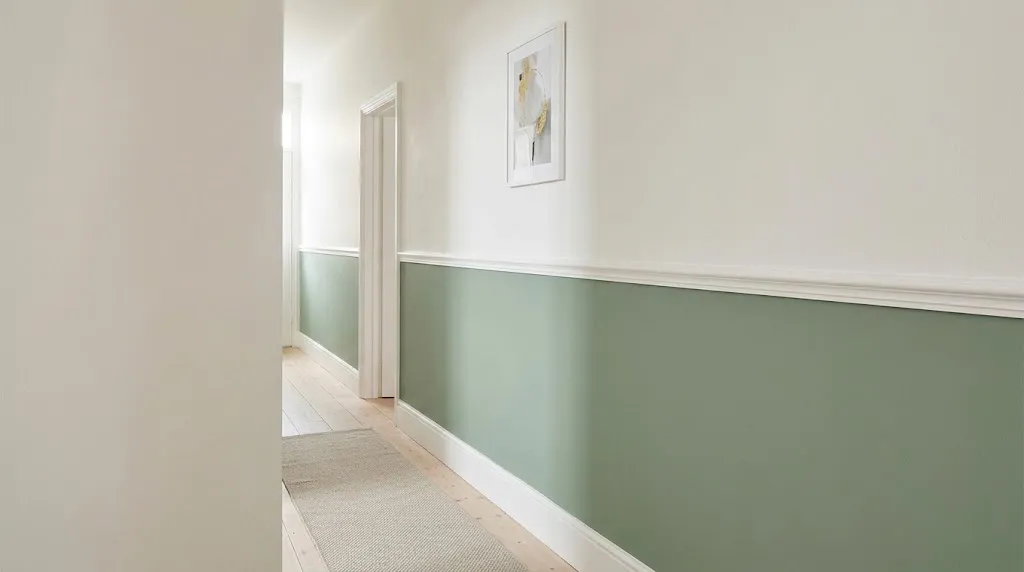
Painting the top half of a narrow hallway a lighter shade than the bottom half is a classic design technique used to visually open up tight spaces. The darker shade on the bottom grounds the corridor, while the lighter shade on top reflects light, giving the illusion of a broader space overhead.
Divide the colors horizontally around waist-to-chest height (approximately 36 to 48 inches from the floor) using a crisp painter’s tape line or a simple wood chair rail trim molding
14. Install Low-Profile Wall Hooks in a Staggered Grid
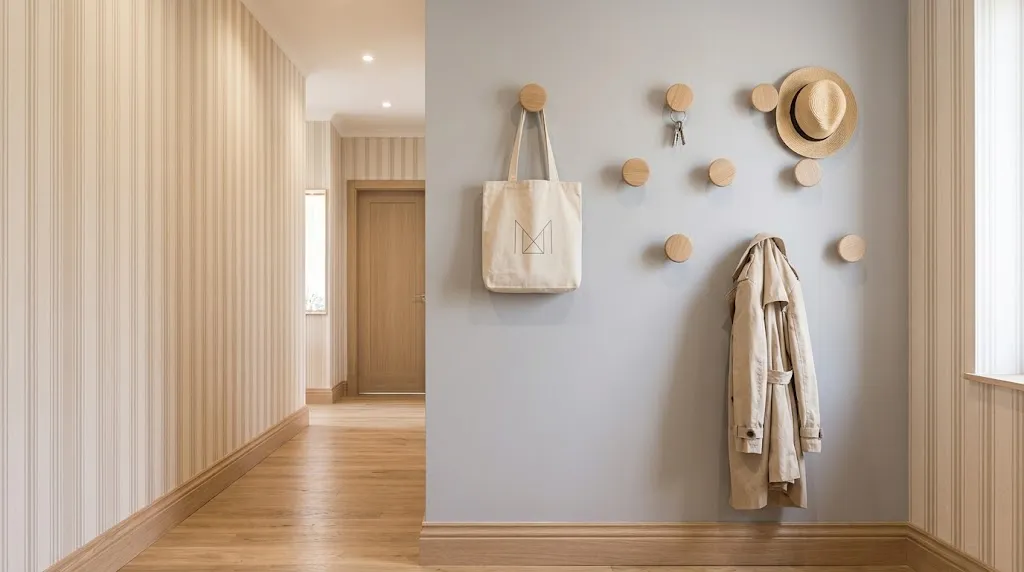
If your narrow hallway serves as the primary entry corridor, coat storage can quickly become a bottleneck. Heavy coat racks or bulky wardrobes take up too much floor space. A linear row or staggered grid of low-profile, minimalist wall hooks provides storage for jackets, bags, and hats without taking up floor space.
Space hooks roughly 8 to 12 inches apart, and consider staggering two horizontal rows at different heights so longer coats don’t overlap shorter bags or kids’ items.
15. Lean Into Dark, Atmospheric Paint for a Drama Passage
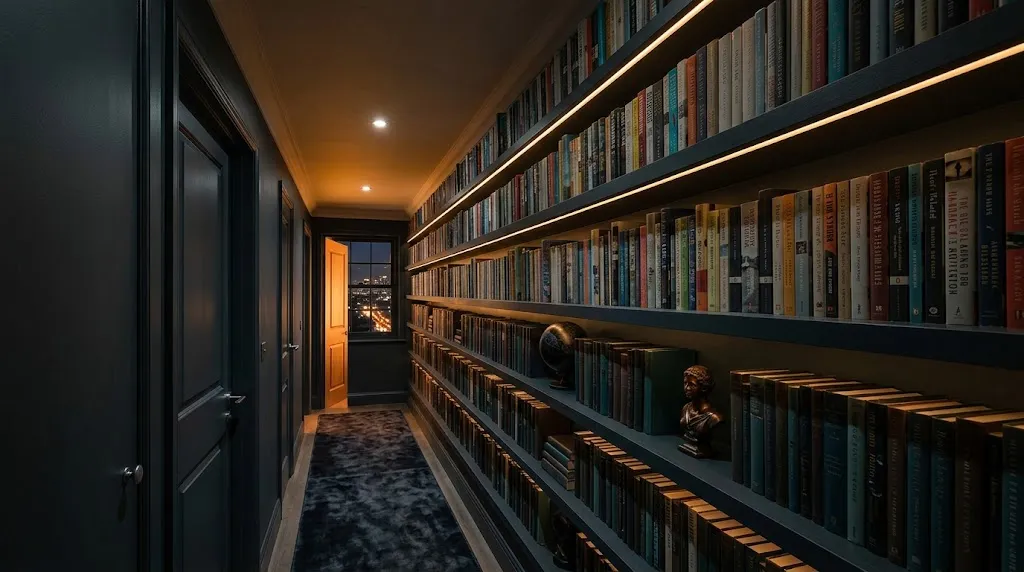
Instead of fighting the lack of natural light in a windowless hallway, leaning into a deep, moody paint color can turn a dull passage into a dramatic transition zone. Deep charcoal, moody teal, or rich dark chocolate creates a cozy, moody effect that makes surrounding sunlit rooms feel brighter when you enter them.
To pull off this approach successfully, paint the walls, trim, doors, and baseboards in the same dark hue using a satin or eggshell finish. This eliminates high-contrast visual breaks, allowing the walls to recede visually.
16. Install Light-Reflective Gloss or Plaster Wall Finishes
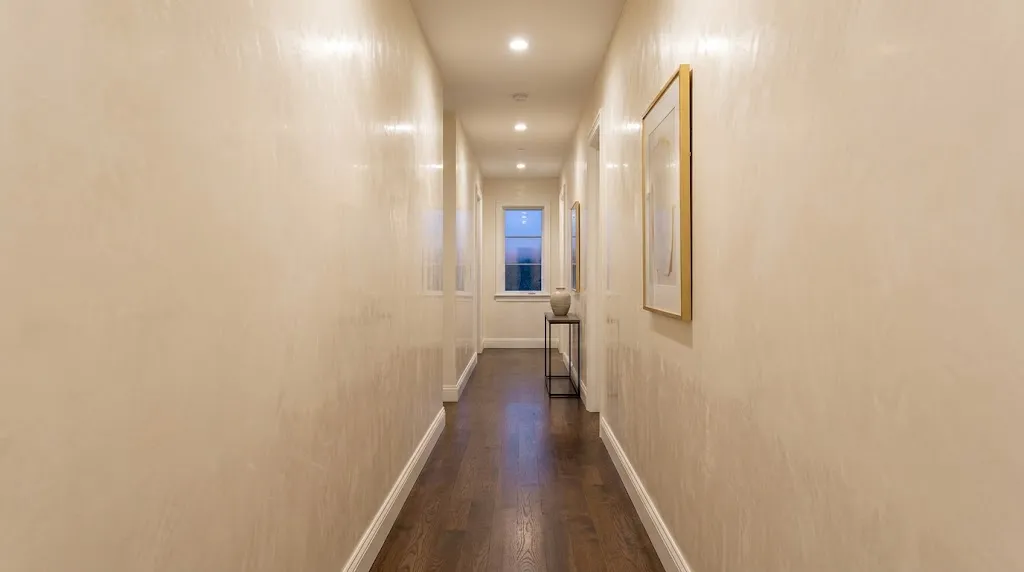
Matte walls absorb light, which can accentuate shadows in tight, dark corridors. Choosing wall finishes with subtle reflective qualities—such as a satin paint finish, Venetian plaster, or a high-gloss enamel on trim—allows ambient light to bounce across opposing surfaces.
Lighter neutral plaster finishes add visual texture and subtle shade variations without requiring heavy pattern or high-contrast decor.
Quick Fact: Satin and semi-gloss paint finishes are also significantly easier to wipe down, making them practical choices for narrow, high-traffic hallways subject to frequent hand marks.
17. Incorporate Vertical Wood Slats for Architectural Texture
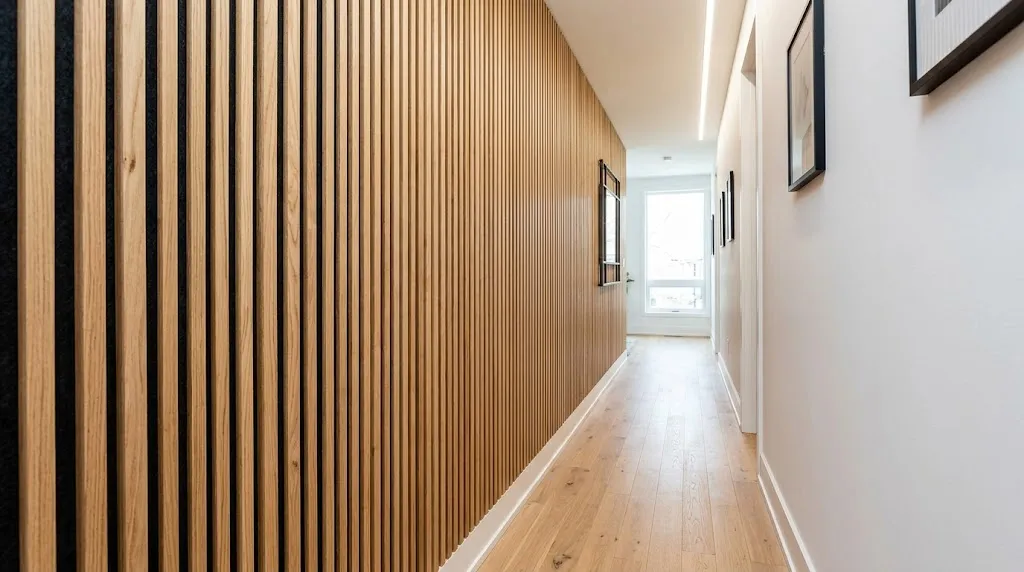
Running thin, vertical wood slats along one wall of a long hallway adds contemporary warmth and architectural interest while preserving every inch of walking width. The repeating vertical lines pull the eye upward, giving the space height, while the wood tones add warmth to plain drywall.
Use light-toned woods like white oak or ash with a black or dark acoustic felt backing. The felt backing reduces echo in long, hard-surfaced corridors.
18. Use Double Runners to Break Up an Extra-Long Corridor
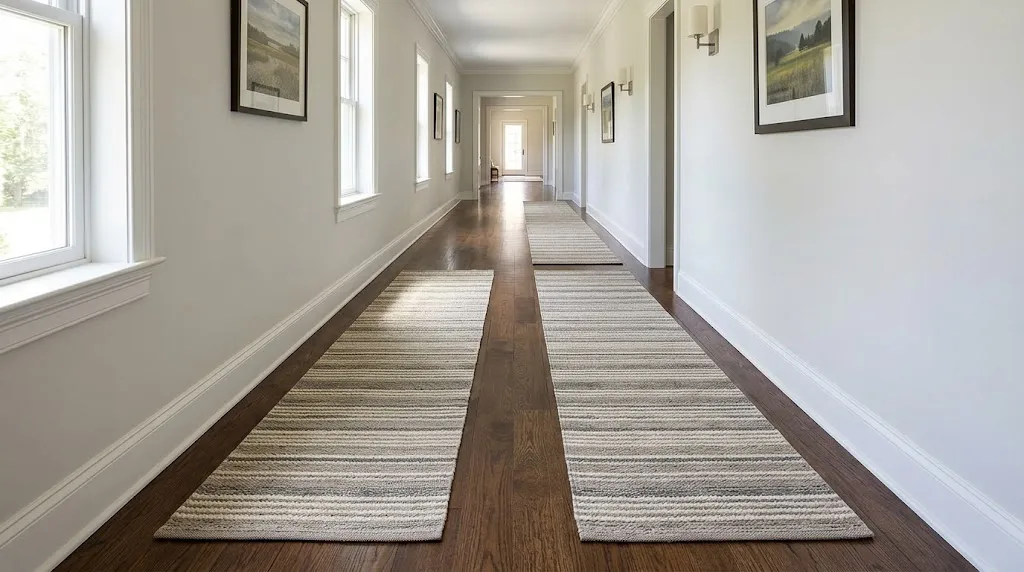
If your hallway is exceptionally long (over 20 feet), a single long runner can feel endless. Laying down two shorter matching or complementary runners with a gap of visible floor between them breaks the corridor into distinct segments, making the total distance feel more manageable.
Leave a 12 to 18-inch gap of bare flooring between the two runners, and ensure both rugs are anchored with non-slip rug pads to prevent curling edges.
19. Install Overhead Recessed Ceiling Nooks with LED Accent Lighting
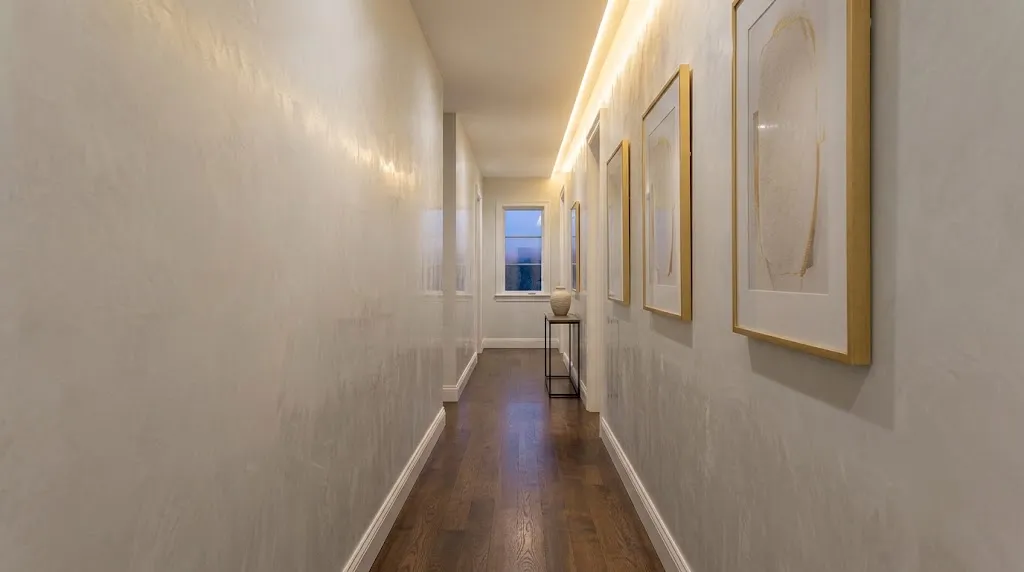
If you are renovating or opening up drywall overhead, adding small, recessed architectural display nooks or LED cove lighting along the top ceiling edge transforms lighting from a functional necessity into an integrated design feature.
Illuminating hallway walls from above with hidden linear LED strips creates a gentle wash of light that washes down the drywall, softening harsh corners and widening the visual perception of the ceiling plane.
20. Layer Light Wooden Frames With Matting for Visual Depth
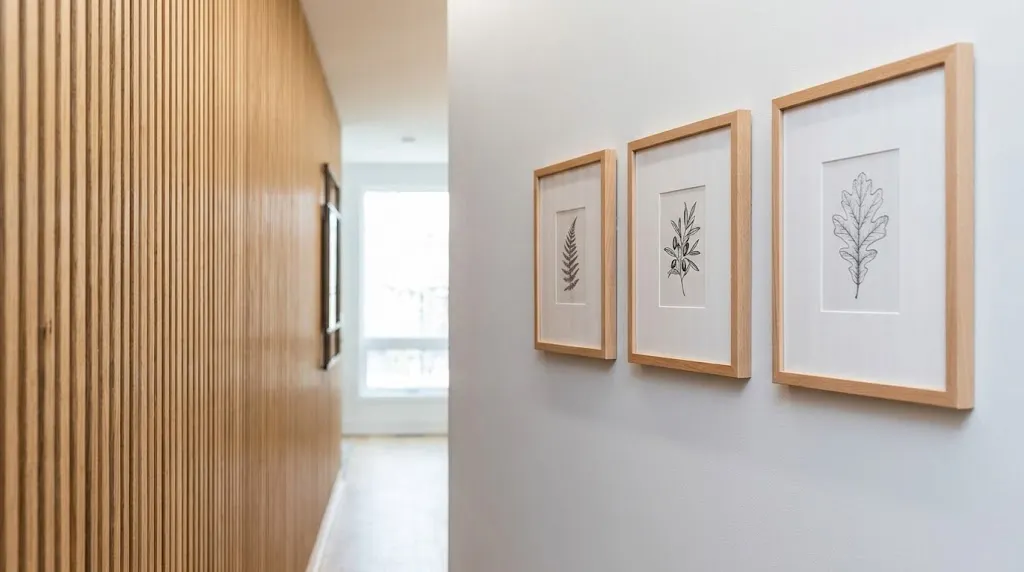
Thick, heavy frames can feel intrusive in a narrow hallway, but frameless prints can look cheap or unfinished. Using slim, light-toned wood frames paired with extra-wide white interior matting provides a clean visual buffer between the artwork and the wall color.
The wide matting adds generous negative space around prints, making small artwork feel substantial without requiring large, deep frames that intrude on walking clearance.
Do / Don’t Guide:
- Do: Use 2-inch to 4-inch matting borders to make small art prints feel intentional.
- Don’t: Use thick, heavy, ornate carved frames that extend more than 2 inches off the wall.
21. Install Transom Windows Above Interior Doors
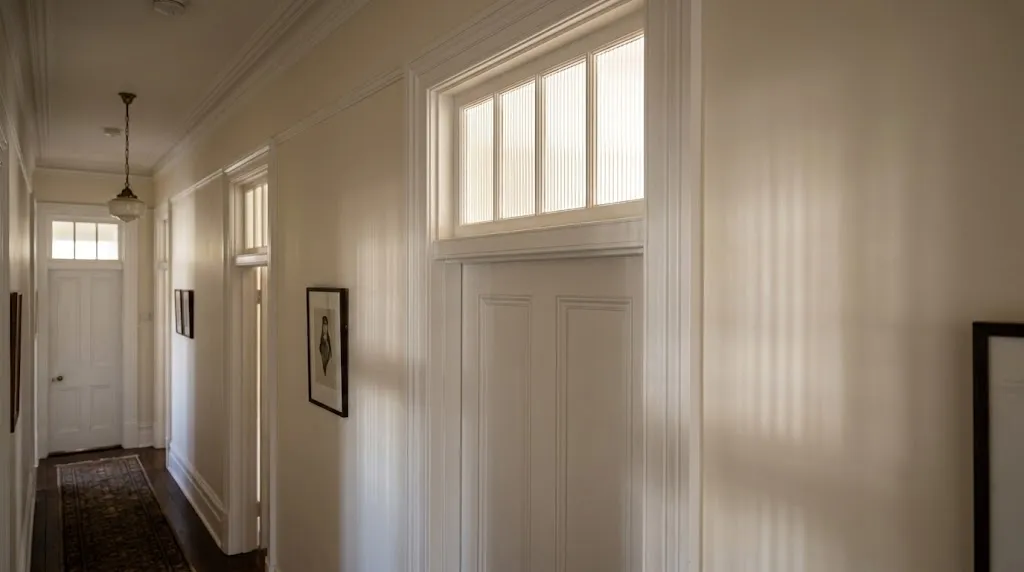
In dark, interior hallways flanked by bedrooms or offices, wall space often blocks natural daylight from reaching the corridor. Installing transom windows—small horizontal glass panes mounted directly above internal door frames—allows natural light from windowed adjoining rooms to pass into the hallway while preserving privacy.
Choose clear glass for maximum light transmission, or select frosted, fluted, or seeded glass if visual privacy between rooms is a priority.
Key Hallway Design Principles
When selecting solutions for your space, keep these core spatial guidelines in mind:
Control Lighting Temperature: Stick to warm white light bulbs (2700K–3000K) to keep windowless hallways from feeling like cold institutional corridors.
Maintain Clear Walking Paths: Aim for at least 32 to 36 inches of unobstructed walking width down the entire length of the hall.
Watch Frame and Fixture Depths: Keep floating shelves, console tables, sconces, and picture frames under 4 to 8 inches in depth to prevent physical bumps.
Use Rug Pads: Tight corridors experience high foot traffic. Always secure runner rugs with quality non-slip rubber pads to keep them flat and centered.